How to Texture Glass in 3D
Glass textures play a crucial role in creating realistic 3D visuals, showcasing transparency, reflection, and refraction. They are widely used for product renders like glassware, architectural windows, and decorative elements in interior designs. Popular 3D software such as Blender, 3ds Max, Maya, and Cinema 4D offer various tools to craft glass materials, but achieving a high-quality result requires attention to detail. This guide breaks down the process of adding glass textures to 3D objects, covering material setup, parameter adjustments, and rendering optimizations.

1. Choose the Right Rendering Engine
The realism of glass textures heavily depends on the rendering engine, so selecting the right one is essential.
Understand Engine Features
Popular engines like Cycles (Blender), V-Ray (3ds Max and Maya), and Arnold (Cinema 4D) are tailored for different needs. Cycles excels in physically accurate light simulation, making it ideal for realistic glass. V-Ray provides material presets for quick results, while Arnold is renowned for its global illumination and high-quality refraction effects.
Enable Ray Tracing
To enhance realism, ensure that ray tracing options like reflection and refraction are activated in your render settings. This feature simulates how light interacts with the glass surface, adding depth and accuracy to your materials.
2. Create the Base Glass Material
The foundation of a glass texture lies in transparency and light interaction.
Use Transparent Material Nodes
In Blender, the “Principled BSDF” node is a go-to for glass materials. Increase the Transmission value to 1 to allow light to pass through the object. Similarly, V-Ray’s Glass Preset and Arnold’s Standard Surface Shader offer excellent starting points for glass materials.
Adjust the Index of Refraction (IOR)
The IOR of glass typically ranges from 1.45 to 1.55. Adjusting this parameter helps simulate different types of glass, such as standard window panes or fine crystal.
3. Refine Optical Properties
Fine-tuning optical attributes is key to creating lifelike glass materials.
Reflection and Refraction
Enhance the material’s reflectivity to mimic polished glass surfaces while ensuring clear refraction to accurately depict how light bends through the glass.
Frosted Glass Effect
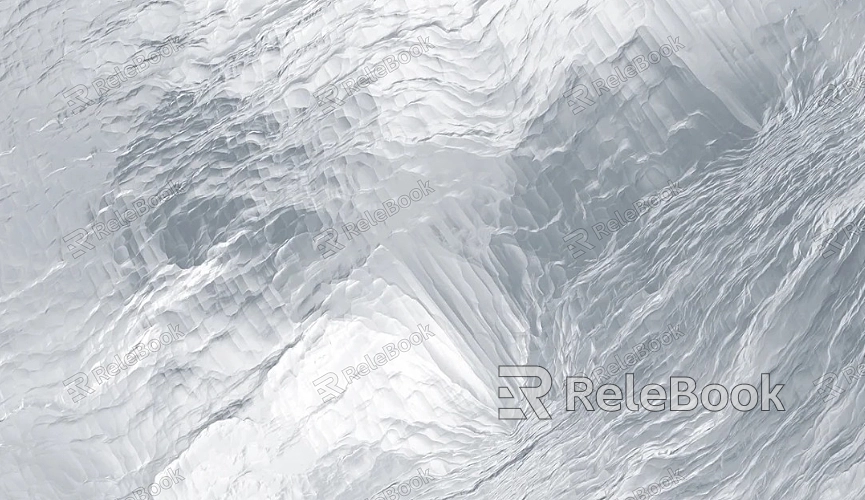
Add slight surface roughness to create a frosted or matte glass appearance, which diffuses light and softens reflections.
Thin-Wall Settings
For thin glass objects like windows, enable thin-wall properties to simplify calculations while retaining realistic transparency.

4. Add Texture Details
Glass textures are more than just clear materials; subtle details can significantly elevate realism.
Scratches and Smudges
Incorporate minor imperfections like scratches, fingerprints, or smudges through bump or roughness maps. Tools like Photoshop or Substance Painter are excellent for creating these texture maps.
Colored Glass Effects
Add color gradients or textured maps to simulate stained glass or dispersive effects, giving your material a unique and vibrant look.
Normal Maps for Surface Variation
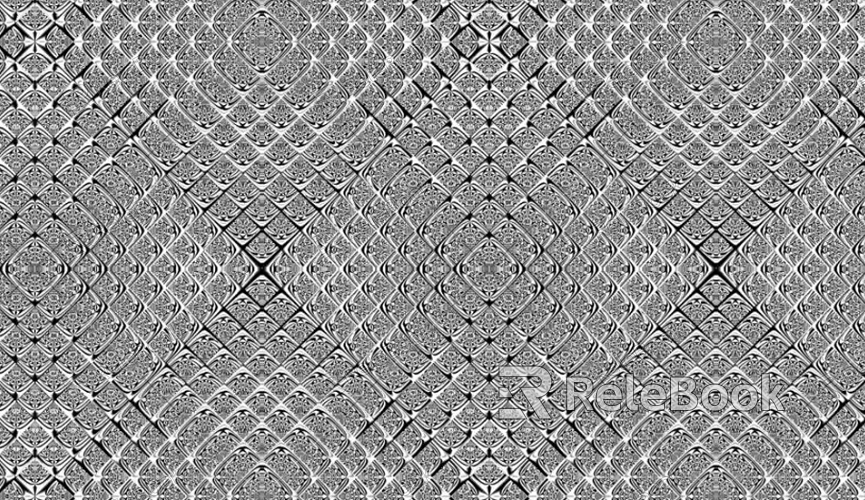
Use normal maps to introduce surface irregularities, such as rippled or embossed glass patterns, enhancing visual complexity.
5. Optimize Rendering Settings
Rendering glass textures can be resource-intensive, so optimization is crucial for balancing quality and performance.
Minimize Noise in Reflections
Increase sample counts to reduce noise in reflective and refractive areas. To save time, pair this with denoising tools like Blender’s Denoiser.
Leverage Light Cache Maps
In complex scenes, light cache maps can accelerate global illumination calculations for glass materials, ensuring smoother renders.
Limit Reflection Depth
Set reasonable limits on the maximum reflection and refraction depth (e.g., 8–12 bounces) to avoid excessive computation without compromising realism.
Following these steps makes texturing glass in 3D both accessible and efficient. From creating the base material to refining its properties and optimizing the render process, these techniques are adaptable across different software and project requirements. Whether you’re a beginner or a seasoned designer, mastering these methods will help you produce stunning, realistic glass textures that enhance the visual impact of your work.
If you're looking for high-quality 3D texture resources, SketchUp models, or 3ds Max assets to enrich your projects, explore the extensive library at Relebook. It’s packed with tools and materials to help you achieve exceptional visual results in your designs.

